Sprite PRO-Team expert Jamie Pike shows us how to tie a Master Splinter Mouse.
The Master Splinter Mouse
Mouse patterns are a great way to entice hungry and aggressive fish of a variety of species into striking.
Brook trout, brown trout, rainbow trout, Pike, bass and many other species will aggressively attack a surface mouse pattern.
The Master Splinter Mouse pattern is a quick and easy tie that yields results. It does not involve the technique of spinning and trimming deer hair, not the mess, and uses just a few simple ingredients.
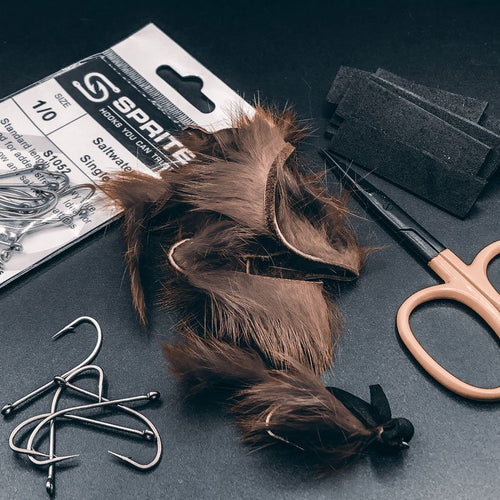
Materials
Hook- Sprite S1052 sz 1/0
Zonker strips of choice and colour – I used rabbit
Craft foam (black, grey, white, or brown)
140D minimum thread
Step by step

Step 1. Secure the hook into the vise and start your thread approximately 1/3 down the shank, then wrap the thread back the hook ending at the bend.

Step 2. Take a 2” piece of zonker, and strip or trim the hair from 2/3 of it and secure it to the hook firmly. You can add some superglue to the underside if you feel necessary.

Step 3. Take a pre-cut 2” x 1/2” piece of craft foam and taper one end as shown and secure to the hook with firm thread wraps.

Step 4. Select a longer piece of zonker and strip 1/4” of hair from the end and tie in. Then, wrap the zonker foreword, pulling the hair fibres to the back of the fly, and slightly overlapping each wrap. Once you’ve wrapped the length of the body, secure the end, and trim the excess.

Step 5. Take a small brush, or use your fingers to evenly disperse the hair to both side of the body of the fly.

Step 6. Take the craft foam and pull it over the hair. With your off hand hold the foam around the body of the fly while securing it with a few tight wraps of thread.

Step 7. Fold the craft foam back, creating a head on the fly.


Instructional photos supplied Jamie Pike